
Use a custom HTML form to submit to Google Sheets
Introduction:
Collecting form data on your website and storing it in Google Sheets is a common requirement. While Google Forms is a great solution, sometimes you need more control over the form’s design and user experience. In this tutorial, we’ll explore how to create a custom HTML form that submits data directly to Google Forms, which then stores the data in Google Sheets, giving you complete control over the form’s appearance and behavior.
Step 1: Create a Google Form
-
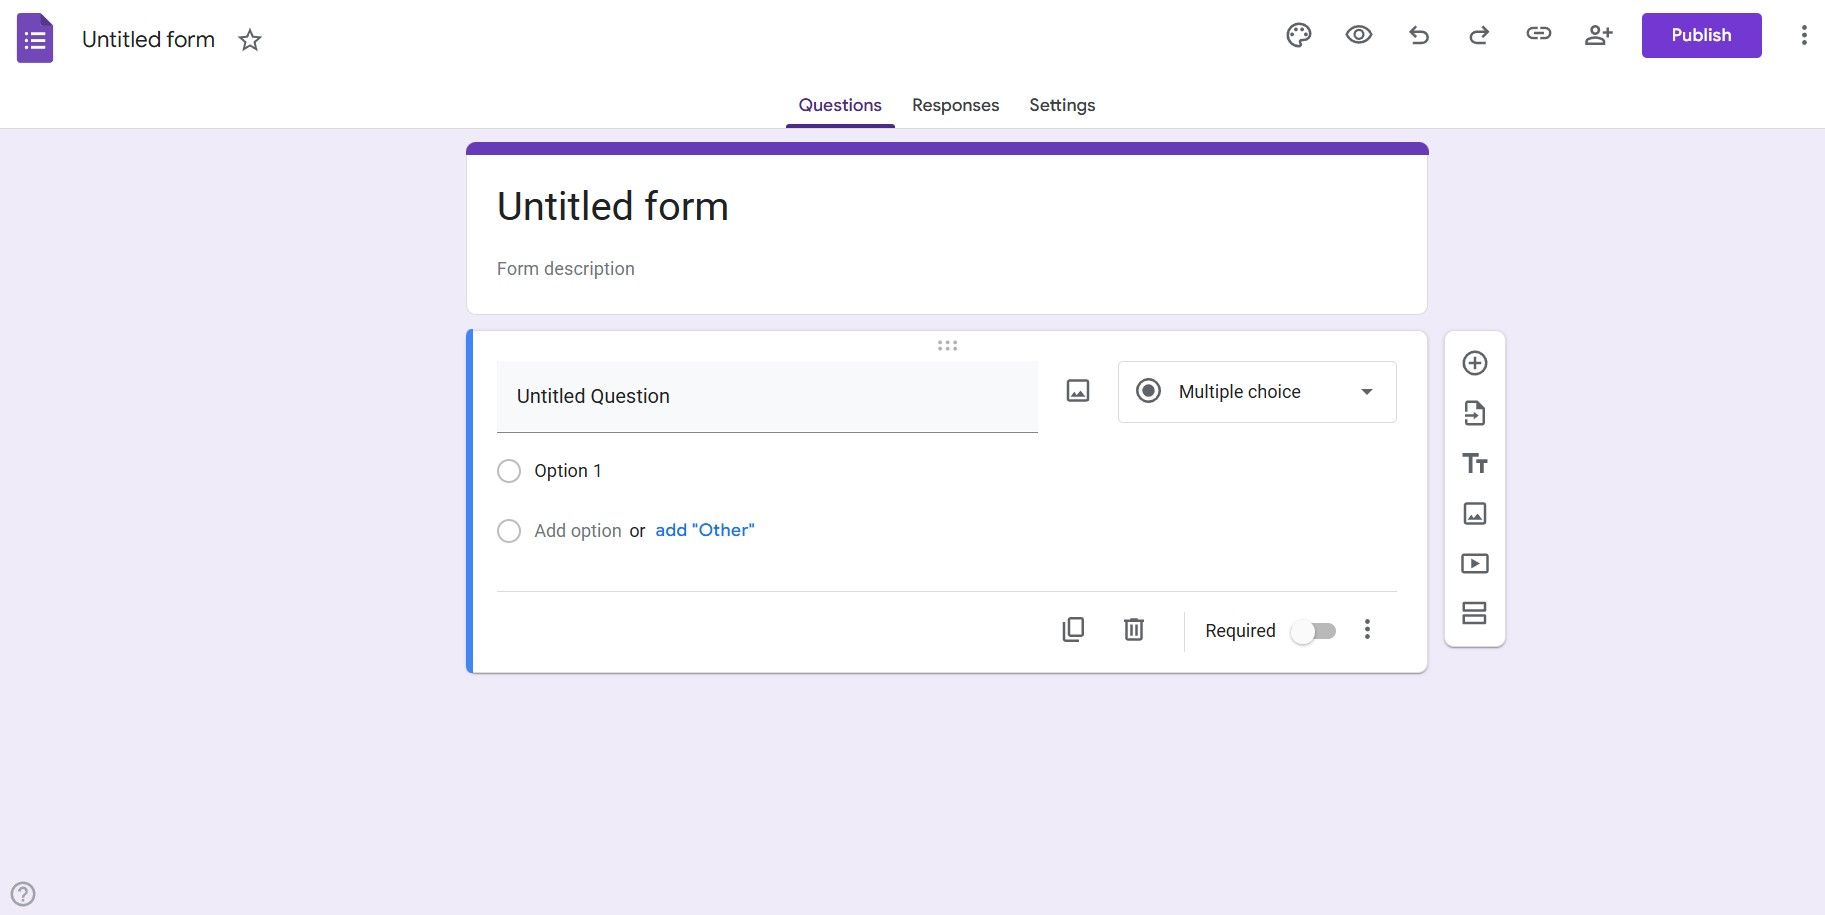
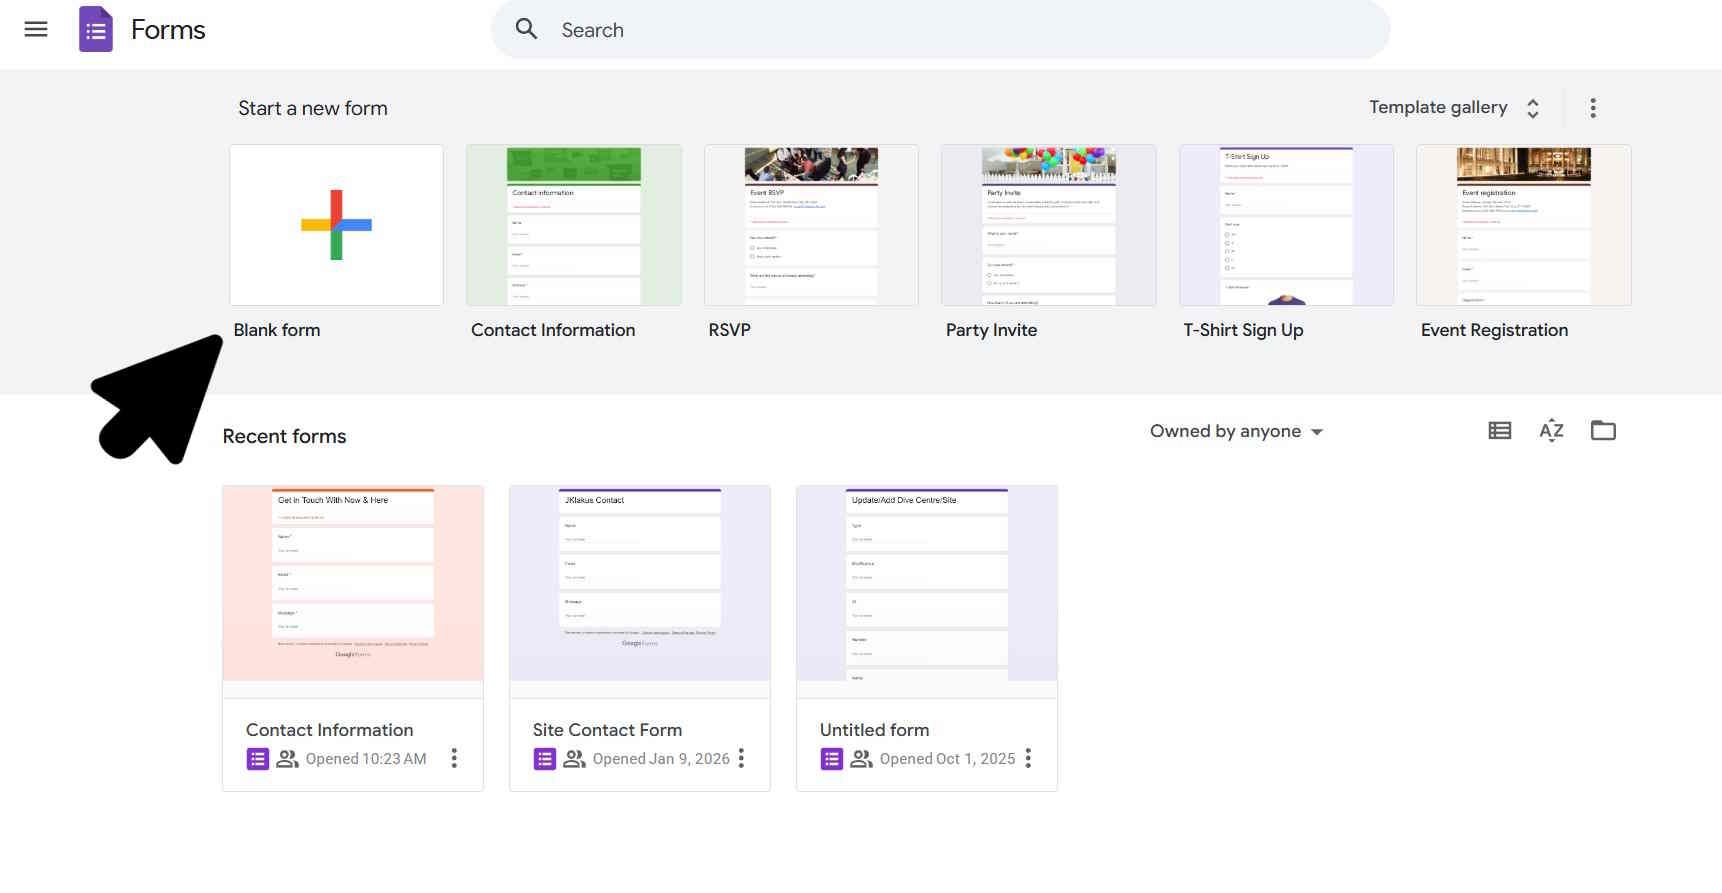
Create a new Google Form
- Go to forms.google.com
- Create a new blank form
- Add your form fields (Name, Email, Message, etc.)
-
Make the form public
- Click the “Settings” tab
- Uncheck “Restrict to users in your organization”
- This ensures anyone can submit to the form
-
Get your Form ID
- The form URL will look like:
https://docs.google.com/forms/d/FORM_ID/edit - Copy the FORM_ID (e.g.,
YOUR_FORM_ID)
- The form URL will look like:
Step 2: Get Field Entry IDs
To submit to your Google Form programmatically, you need to know the entry IDs for each field. You can get these by running a script in your browser:
- Open your Google Form (either in editor mode or preview mode - the script handles both)
- Open your browser’s developer console (F12 or right-click > Inspect)
- Paste the following script and press Enter:
(() => {
  const linkInput = document.querySelector('input[jsname="YPqjbf"][aria-label*="sharing"]');
  const rawLink = linkInput ? linkInput.getAttribute('data-initial-value') : "";

  // Clean the link and append the formResponse suffix
  const cleanBase = rawLink.split('/viewform')[0];
  const endpoint = cleanBase ? `${cleanBase}/formResponse` : "";

  const mapping = {};
  const fieldDivs = document.querySelectorAll('[data-fieldid]');
  fieldDivs.forEach((div, i) => {
    const entryId = div.getAttribute('data-fieldid');
    const titleEl = div.querySelector('[data-questiontitle], .M7eMe, [role="heading"]');
    const label = titleEl ? titleEl.innerText.trim() : `field_${i + 1}`;
    if (entryId && entryId.length > 5) {
      const key = label.toLowerCase().replace(/[^a-z0-9]/g, '_');
      mapping[key] = { entryId };
    }
  });

  if (Object.keys(mapping).length === 0) {
    const hiddenInputs = document.querySelectorAll('input[type="hidden"][name^="entry."]');
    hiddenInputs.forEach((input, i) => {
      const entryId = input.getAttribute('name').replace('entry.', '');
      const labels = document.querySelectorAll('.M7eMe, .freebirdFormviewerComponentsQuestionBaseTitle');
      const label = labels[i] ? labels[i].innerText.trim() : `field_${i + 1}`;
      const key = label.toLowerCase().replace(/[^a-z0-9]/g, '_');
      mapping[key] = { entryId };
    });
  }

  const entryRows = Object.entries(mapping)
    .map(([key, val]) => `  ${key}: "${val.entryId}"`)
    .join(",\n");

  console.log(`--- SUCCESS! ---

Generated Code:

const GOOGLE_ENDPOINT = "${endpoint}";
const ENTRY = {
${entryRows}
};`);
})();
What the Script Outputs
After running script, you’ll see the generated code in your console with the GOOGLE_ENDPOINT URL and an ENTRY object mapping your field names to their Google Form entry IDs:
--- SUCCESS! ---

Generated Code:

const GOOGLE_ENDPOINT = "https://docs.google.com/forms/d/e/YOUR_FORM_ID/formResponse";
const ENTRY = {
  name: "2005620554" // Name,
  email: "1045781291" // Email,
  message: "1065046570" // Message
};
Copy this code - you’ll need it in the next steps.
Step 3: Create Your HTML Form
Here’s an example HTML form using the extracted field IDs:
<form id="my-google-form">
  <div>
    <label for="name">Name</label>
    <input type="text" id="name" name="name" required>
  </div>
  <div>
    <label for="email">Email</label>
    <input type="email" id="email" name="email" required>
  </div>
  <div>
    <label for="message">Message</label>
    <input type="text" id="message" name="message" required>
  </div>

  <button type="submit">Submit</button>
</form>Then add the event listener to attach the submit handler:
document.getElementById('my-google-form').addEventListener('submit', submitToGoogle);Step 4: Add the Submit Function
Copy the generated JavaScript code from the console output and add it to your website. The complete code should look like this:
const GOOGLE_ENDPOINT = "https://docs.google.com/forms/d/e/YOUR_FORM_ID/formResponse";

const ENTRY = {
  name: "2005620554", // Replace with your actual entry ID
  email: "1045781291", // Replace with your actual entry ID
  message: "1065046570" // Replace with your actual entry ID
};

async function submitToGoogle(ev) {
  ev.preventDefault();

  const submitBtn = ev.target.querySelector('[type="submit"]');
  if (submitBtn) {
    submitBtn.disabled = true;
    submitBtn.textContent = 'Submitting...';
  }

  const fd = new FormData(ev.target);
  const data = new URLSearchParams();

  for (const [key, val] of fd.entries()) {
    if (ENTRY[key]) {
      data.append(`entry.${ENTRY[key]}`, val);
    }
  }

  try {
    await fetch(GOOGLE_ENDPOINT, {
      method: "POST",
      mode: "no-cors",
      body: data
    });

    alert("Thanks! Your form has been submitted successfully.");
    ev.target.reset();
  } catch (error) {
    console.error("Form submission error:", error);
    alert("Sorry, there was an error submitting your form. Please try again.");
  } finally {
    if (submitBtn) {
      submitBtn.disabled = false;
      submitBtn.textContent = 'Submit';
    }
  }
}Important Notes:
-
Form Names Must Match: Your HTML form field
nameattributes must match the keys in theENTRYobject (e.g.,name="name",name="email", etc.) -
No-CORS Mode: We use
no-corsmode because Google Forms doesn’t send CORS headers. This means we can’t read the response, but the form still submits successfully. -
Required Fields: Ensure all your form fields that are marked as required in Google Forms have the
requiredattribute in your HTML. -
Validation: Add your own client-side validation as needed since we can’t detect errors from the server.
-
Form Privacy: Keep your Google Form public (uncheck “Restrict to users in your organization”) so anyone can submit, but you can still view responses in your Google Sheets.
Viewing Your Data
All form submissions will appear in:
- Your Google Forms Responses tab
- A linked Google Sheet (you can link one in the Responses tab by clicking the green Sheets icon)
Conclusion
Creating a custom HTML form that submits to Google Forms is a simple and effective way to collect data while maintaining complete control over your form’s design. This approach leverages Google’s infrastructure for data storage while giving you full customization capabilities for the user interface.
Remember to:
- Always make your form public for submissions
- Test your form thoroughly after setup
- Keep your field names consistent
- Add appropriate validation on the client side
This method is perfect for contact forms, surveys, feedback forms, and any data collection needs where you want full customization with minimal setup.